

Dean Bailey heads into the Northumberland hills and pays a visit to Bellingham Golf Club
Northumberland’s golfers are blessed with variety. From rugged coastal links to the manicured parkland courses close to the River Tyne, the county is home to something to suit every golfing need.
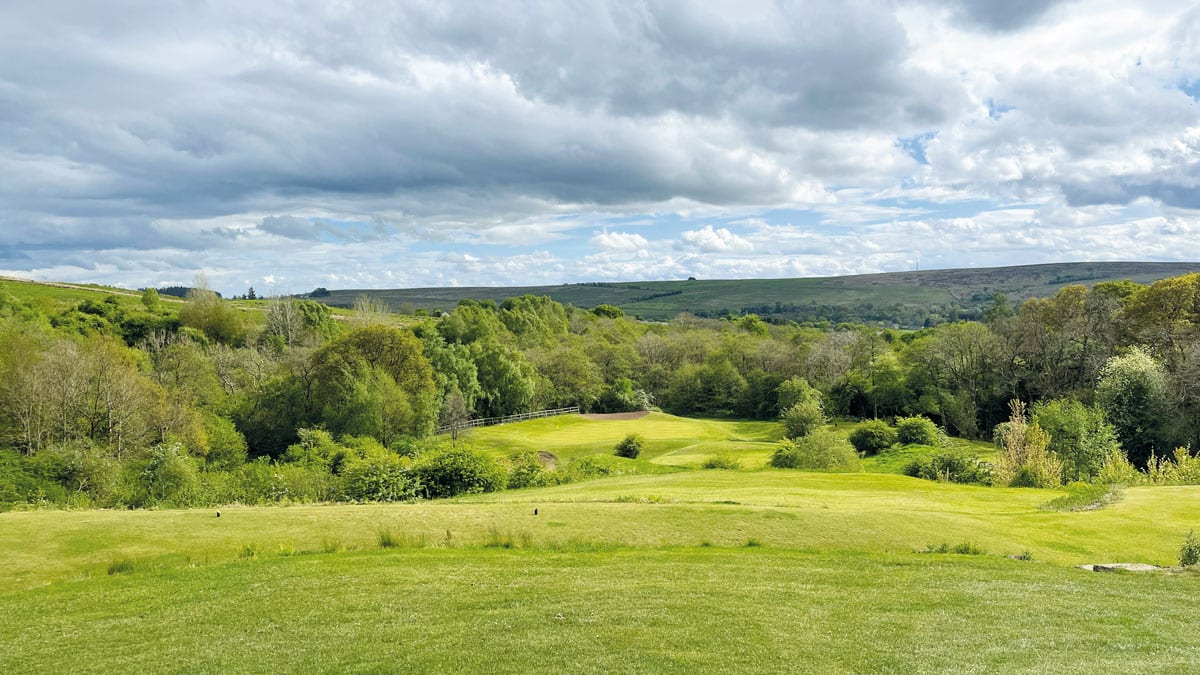
For those in search of stunning scenery high in the hills, there are few better options than Bellingham Golf Club.
Founded in 1893, today the 18-hole, par 70 course occupies an enviable position with spectacular views and beautiful valley holes close to the Hareshaw Burn.
Though relatively short, the opening pair of par fours can catch you out early. At the 367-yard opening hole, an accurate tee shot is required to reach the fairway plateau over the road, with shots to the left risking a trip down the slope while those to the right can find a ditch. From the plateau, a short approach is played to a small green guarded by two front bunkers.
The downhill second measures just 270 yards from the white tee and can be reached, though disaster awaits those who are off line with water to the left of the green and a steep bank to the right. Players who steer away from the water must play blind over the slope to the green while avoiding the slope and bouncing into the water.
The par four third can yield birdies for those able to drive over the fairway bunkers on the right side to leave a short pitch to a pear-shaped green featuring two front bunkers – one cut below the putting surface on the right side and one above it on the left.
The first of the par threes follows. Just 120 yards, your tee shot must be judged correctly to make it over the large bunker and steep slope while staying short of the out of bounds fence.
The dogleg-left fifth hole requires an accurate tee shot to find the right side of the flat portion of the fairway. From here, an uphill approach is played to a generous green featuring a single bunker on the front left corner.
 Drives at the 359-yard sixth hole must favour the left side to make use of the slope and bound forward into the flattest part of the fairway. A single bunker on the left side is cut well short of this undulating green.
At just over 400 yards, a good drive – again favouring the left side – is needed at the seventh to leave a chance to attack the flag at the P-shaped green which wraps around the bunker on its left side. The mounding to the right of the green will help funnel the ball onto the putting surface for those hitting a longer approach.
The first of the par fives, the 574-yard eighth is full of risk and reward. You get a great look at the fairway from the elevated tee and finding the generous landing area leaves you with a decision – lay up short of the bunker on the right and pond on the left to leave around 160 yards to the elevated green, or play over these for a shorter approach to the peanut-shaped, well-bunkered putting surface.
Set among the trees, the long par three ninth can be stretched to 185 yards. Be wary of the bunker well short of the green on the right side while a deep bunker waits on the left side of the narrow entrance to this long green.
Getting the angle right with your tee shot at the dogleg-right par four 10th can be tricky, particularly in the wind. There is more room to the right than you think – though the approach is more difficult from this side as two large bunkers protect the route to the raised green, which slopes from back to front.
The second of the par fives features a roller coaster of a fairway. The tee shot is played into the slope of a generous landing area with a single bunker on the right side, leaving a long second shot into the small valley short of the green. From here, a semi-blind pitch or wedge shot is tough to judge and must make it over the bunker which lies well below the putting surface. The slope at the back of the green will often catch the ball and send it back onto the green.

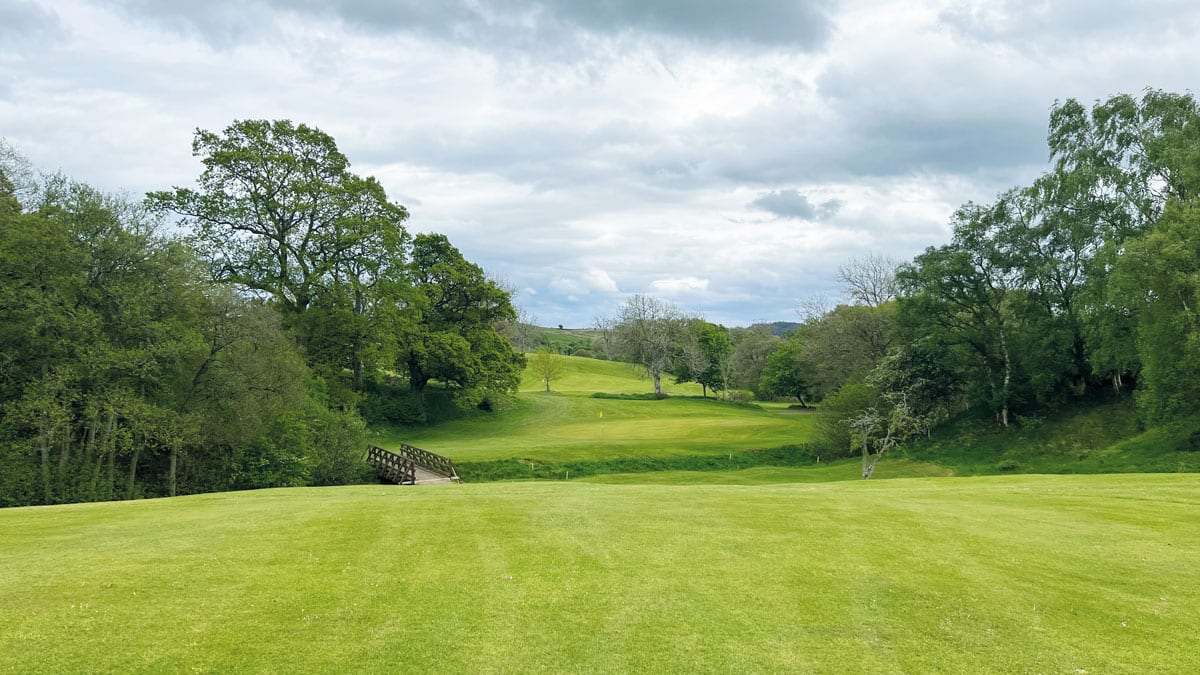
The spectacular downhill par four 12th is named Dormouse. This 347-yard signature hole heads down into the valley from an elevated tee and a long iron is all that’s required to find a generous landing area bordered by trees and a penalty area to the left. The downhill approach must be well struck to carry the burn at the front of a small putting surface, while not carrying too far into the trees at the back of the green. A stunning piece of ground for a golf hole.
Having played into the valley, climb up to the 13th tee to tackle a tricky tee shot which must hug the left side – while avoiding the trees – to use the slope and avoid the bunker on the right. A short approach to a long green, pinched in the front by a pair of bunkers, can yield birdie chances.
Another stunning downhill hole, the 151-yard 14th plays much shorter than its yardage to a green at the bottom of the valley. Beware the out of bounds fence and bunker at the back of the green, and the steep undulations which make pitching very tough.
The toughest hole on the course, the tee shot at the 406-yard 15th is played uphill from the valley floor and must get close to the trees on the left side to leave an unobstructed approach back down the hill to the green. From the right side, a tree blocks the route to the green, which is very generous and features one long, deep bunker on its left side.

Having climbed out of the valley, the sweeping dogleg-left 16th invites a long drive through a corridor of trees. The bank on the left side can block the view to the green, so play a little right to leave a straight approach to a green guarded by two front bunkers and a steep bank on its left side.
The green at the 160-yard 17th is set among trees and can be tricky to find in the wind. A single bunker guards the front right corner.
The 374-yard 18th can yield a birdie chance when played well, though it can trip up any player with a good score. While you can play long and left of the first ravine into the widest part of the fairway to leave an uphill approach to the green, many play shorter from the tee onto the plateau beside the clubhouse to have an unobstructed view of the green, which lies beyond a second ravine. Playing into a generous green, club choice is key here as the front edge slopes back towards the ravine.
Caddy’s tip
A good eye for elevation change and skilled ball striking are keys to scoring well at Bellingham with many slopes to conquer throughout the round
Our verdict
One of the most fascinating pieces of ground for golf, you’ll always finish a round at Bellingham with a smile on your face
